

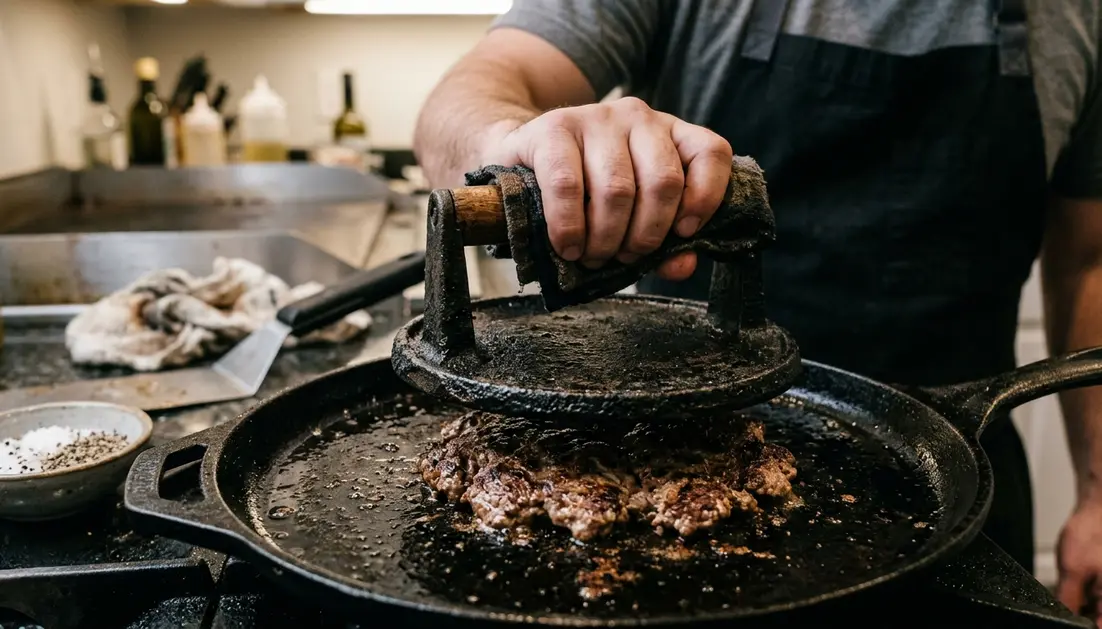
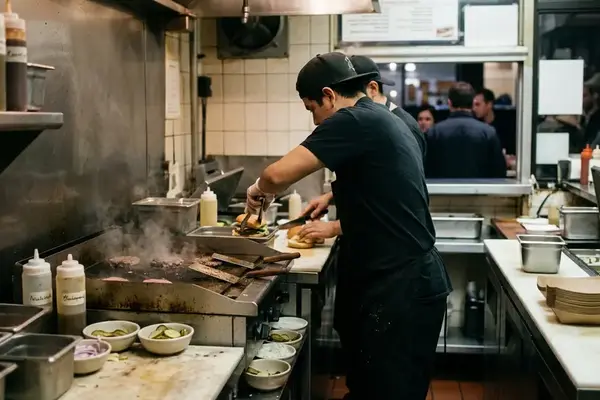
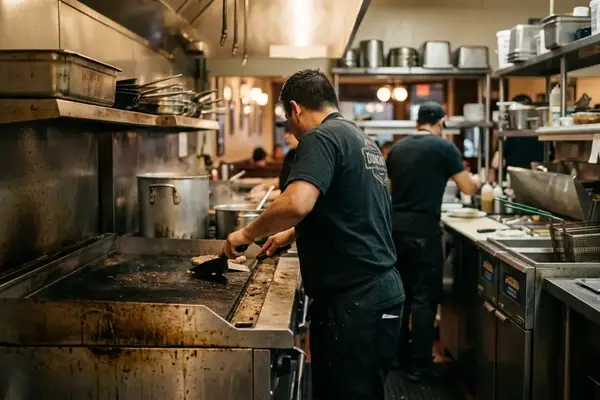
Every serious burger cook eventually hits the same wall. Why does the diner version arrive with edges like brown lace, a crust that crackles under the thumb, and cheese fused into every crevice, while the home version comes out gray, damp, and vaguely apologetic? Same beef, same hunger, wildly different result. The gap comes down to heat, water, and how long the meat stays in contact with metal during the first twenty seconds.
What follows is the whole sequence, from the butcher counter to the moment the second patty lands on the first.
What's Inside
- The gray puck diagnosis
- 80/20 chuck, kept cold until the last second
- Cast iron, parchment, and a scraper that won't flex
- The first ten seconds decide the crust
- Chiseling the patty loose and timing the cheese
- Five minutes, two patties, one clock
The Gray Puck Diagnosis: Heat, Water, and Contact
Start the troubleshooting at the crust, not the recipe. If the patty comes off the pan gray instead of deeply browned, three variables are almost always responsible, and none of them involve seasoning blends or fancy beef.
The first is pan temperature. Cold beef pulls heat out of the cooking surface the instant it lands, and a skillet that hasn't stored enough energy never climbs back into browning territory. The second is crowding. Beef releases water as it cooks; pack too many patties into the pan and that water has nowhere to go, so the burgers steam in their own moisture. A 10- to 12-inch skillet handles two 2.5-ounce smashed patties comfortably, and that's the honest ceiling. The third is the meat itself. Ground chuck that has been kneaded into a dense ball resists spreading, so it never develops the jagged, thin margins that turn crisp.
Maillard browning wants dry, intense heat and maximum surface contact. A loose portion of cold beef pressed hard against dry, screaming metal satisfies all three conditions at once. Everything else in this article is logistics in service of that single moment.
Crust Before Comfort
The crust is the entire point of a smash burger. Any decision that protects the meat from the pan (a gentler press, a cooler skillet, a nonstick coating) trades away the thing that makes the style worth cooking.
80/20 Chuck, Kept Cold Until the Last Second
Ground chuck labeled 80% lean and 20% fat is the standard for a reason that becomes obvious once the patty is only a few millimeters thick. That fat does three jobs simultaneously: it drives browning, it lubricates the contact between meat and iron, and it keeps a paper-thin patty from turning into jerky. Leaner grinds (90/10, sirloin blends, anything marketed as heart-smart) dry out before the crust has finished forming.
Portioning without compressing
Weigh 2.5 ounces per patty. Two of those make the classic 5-ounce double, which is the ratio that fits a standard bun without collapsing it. Divide the beef with as little handling as possible and gather each portion into a loose sphere rather than rolling it tight. The goal is separated strands and irregular edges, because those irregular edges are what flatten into the frilly, crackly perimeter everyone photographs.
Temperature matters just as much as technique here. Hold the formed portions at 40°F or below and pull them from the refrigerator only when the skillet and tools are genuinely ready. Warm beef smears when pressed; the fat softens, coats the strands, and the patty flattens into something closer to a uniform disc than a lacy sheet.
Don't Season the Bowl
Salt mixed into raw ground beef dissolves muscle proteins and pulls moisture to the surface, which is the opposite of what a browning patty needs. Keep the salt shaker at the stove, not at the cutting board.
Cast Iron, Parchment, and a Scraper That Won't Flex
The hardware question answers itself once thermal recovery becomes the priority. Cast iron and carbon steel store enough heat to absorb the shock of cold beef and climb back quickly, and both tolerate the kind of forceful scraping this method demands. Conventional nonstick cookware is out on two counts: the required heat can exceed its recommended operating range, and a rigid metal scraper will chew through the coating.
Preheat a dry 10- to 12-inch skillet over medium-high for 5 to 8 minutes. The working window is roughly 425°F to 500°F at the surface. A droplet of water should skitter and vanish almost instantly; if it sits and sizzles lazily, the pan needs more time.
The three tools that matter
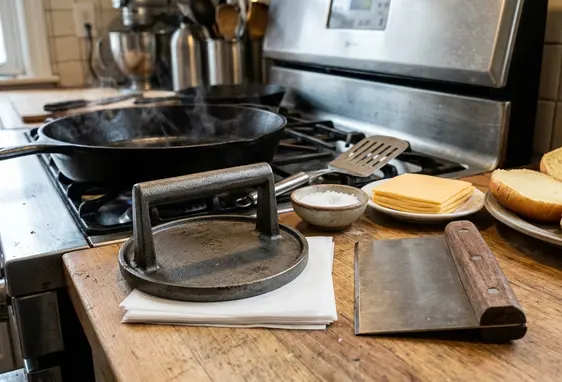
- A heavy flat press. A dedicated burger press is ideal, though a stiff wide spatula weighted with a heavy can does the same work.
- A rigid metal scraper or bench knife. Flexible fish spatulas tear the crust. The crust is fused to the pan and needs to be chiseled, not coaxed.
- Parchment squares, cut in advance. Five to six inches across, stacked next to the stove.
Line up the press, scraper, salt, cheese, and buns within arm's reach before the beef leaves the refrigerator. The cook itself runs on a clock measured in seconds, and there is no pausing to hunt for a cheese slice.
The First Ten Seconds Decide the Crust
Set each cold sphere into the hot skillet and lay a parchment square over it immediately. Drive the press straight down. No rocking, no twisting, no incremental pressure — one committed vertical push, held with steady weight for a full ten seconds. That hold is what locks the meat against the iron and maximizes contact while the surface is still pliable.
Target roughly 4 to 5 inches across, with the center pressed thinner than a quarter inch. The edges will be thinner still, which is exactly right.
Then lift the press, peel the parchment away, and salt the exposed surface within about five seconds. Leave the patty completely alone for the next 60 to 90 seconds. Once the proteins set, pressing again squeezes juice out without buying any additional contact; the crust has already been decided.
Ten Seconds, Then Hands Off
The smash window closes the moment the surface proteins firm up. Late pressing is the single most common reason a home patty ends up both crustless and dry.
Chiseling the Patty Loose and Timing the American Cheese
Wait for the perimeter to go dark brown and the top to lose most of its raw sheen. The browned layer is welded to the skillet at this point, and that's a feature. Slide the rigid scraper underneath at roughly a 45-degree angle and work forward in short strokes, staying low so the crust lifts with the meat instead of staying behind as a delicious smear.
Flip once. The second side needs 20 to 40 seconds and nothing more; a patty this thin is essentially finished by the time it turns over.
Lay one slice of American-style cheese on each patty the instant it flips. The residual heat coming up through the crust melts it into every ridge and crater, which is the textural signature no aged cheddar can quite duplicate. Stack the two patties within 30 to 40 seconds and let the trapped heat finish the melt while the buns get dressed. For anyone cooking for guests at higher risk from foodborne illness, confirm 160°F in the stacked patties with a thin-tip thermometer; diner-speed timing assumes thin patties, a fully recovered pan, and beef you know the handling history of.
Toasted bun, cheese-welded double, a smear of sauce, and no waiting: the sequence works because every step protects the crust that formed in the first twenty seconds.
Five Minutes, Two Patties, One Clock
Here is the whole thing as a single run. Two 2.5-ounce spheres, one 10-inch cast-iron skillet, one bun, two slices of American cheese.
Before the clock starts: preheat the dry skillet 5 to 8 minutes over medium-high toward that 425°F to 500°F range. Split the bun and toast it 30 to 60 seconds. Unwrap the cheese. Cut two parchment squares. Portion the chilled chuck into two loose spheres and return them to the refrigerator until the pan is ready. Dress the bottom bun now.
- 0:00 — Both cold spheres go into the smoking skillet, spaced so they won't touch when flattened.
- 0:05 Parchment over the first sphere, press straight down, hold ten seconds. Repeat on the second.
- 0:20 Smashing is done. Peel both papers and salt each patty immediately. Hands off.
- 1:00 to 1:30 Edges are dark. Scrape at 45 degrees, short strokes, flip both.
- Immediately after the flip One cheese slice on each patty.
- 20 to 40 seconds later Stack patty two onto patty one, cheese to cheese, and let them sit a beat.
- Under 5:00 Lift the stack onto the dressed bottom bun, crown it, and carry it to the table while the crust is still audible.
Run that sequence twice and the timing stops feeling like a recipe and starts feeling like muscle memory. Pour something cold alongside it, and the counter at home starts to sound a lot like a Brooklyn burger bar on a Friday night.



Leave a Comment